
We may earn revenue from the products available on this page and participate in affiliate programs. Learn More ›
We use water every day for drinking, cooking, cleaning, and bathing, but how often do we stop to think about what’s actually in it? Water that looks clean can contain potentially harmful contaminants, including lead, bacteria, and chemicals. The good news is, learning how to test water quality at home is pretty straightforward, whether you’re using an inexpensive DIY test kit, or you mail a sample to a certified laboratory. We’ll walk you through the testing process, explain what your results mean, and help you figure out what to do if you find a problem.
Why should you test your water?
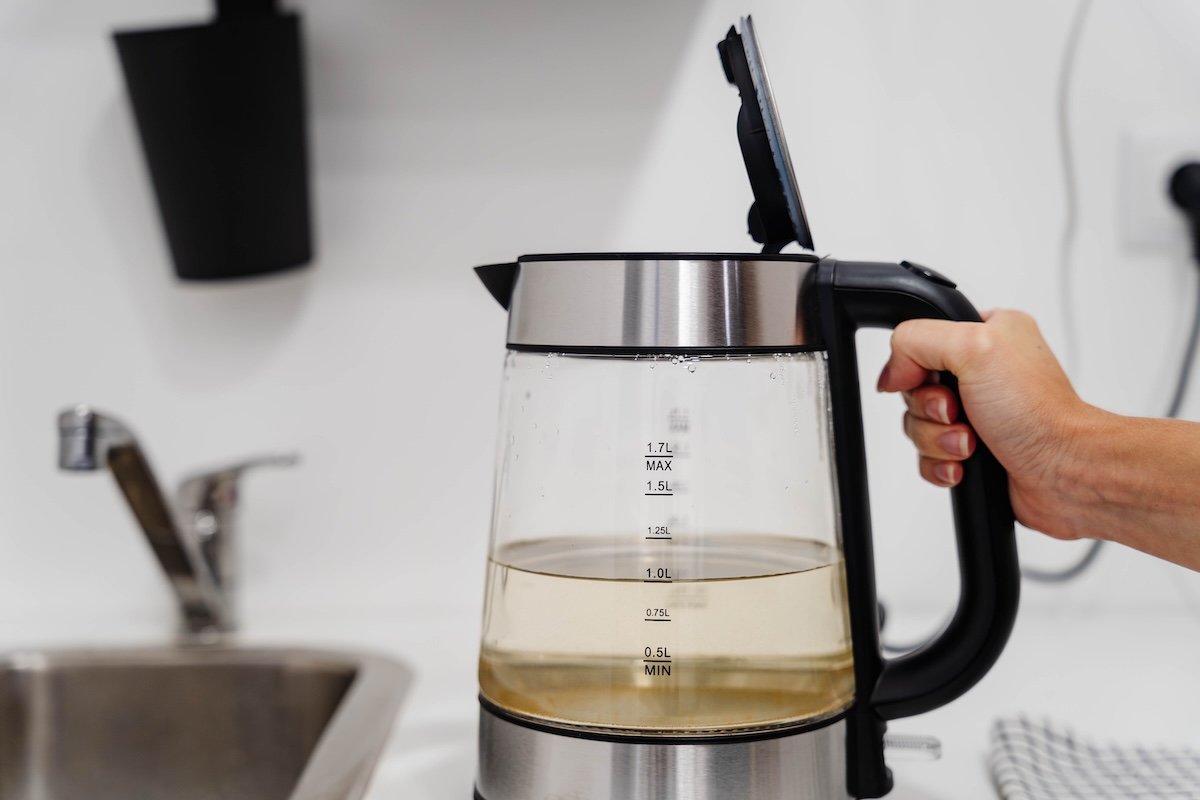
Even if your water looks clean doesn’t always mean it’s safe to drink. Contaminants and certain bacteria can be in there without changing the water’s appearance, taste, or smell. Testing your water helps identify potential health risks and gives you a clearer picture of what’s coming out of your faucets.
“A common misconception is that water is safe if it looks, smells and tastes fine,” says Dr. Eric Roy, Chief of Science at Culligan International. “But the reality is that contaminants such as lead, arsenic, and ‘forever chemicals’ (PFAS) cannot be detected by our senses.”
Water testing can also reveal less serious issues, such as high mineral content. Hard water, which contains elevated levels of calcium and magnesium, can cause scale buildup in pipes and appliances, leave spots on dishes, and make soap less effective. Testing can also help you get to the bottom of unpleasant tastes, unusual odors, or discoloration.
Knowing what’s in your water helps you decide whether you need a filtration system, a water softener, or another treatment method. And even if your water is perfectly safe to drink, you might still want to improve its taste or overall quality.
Bobvila.com may earn a commission from purchases made through these links.Tools & Materials
How to Test Water
Testing your water quality is a simple process that takes just a few minutes of hands-on work, depending on the type of test you choose. At-home water test kits give you quick results for common water-quality indicators, while mail-in laboratory tests offer more detailed information about potentially harmful contaminants.
Before getting started, read the instructions included with your test kit carefully. Different tests have different sampling requirements, and even small mistakes, such as touching the inside of a collection bottle or flushing the faucet when you shouldn’t, can affect the accuracy of your results.
Step 1: Determine which water testing method is right for you.
The best testing method depends on what you’re looking for. Inexpensive, at-home test kits typically use strips or color-changing solutions to check for pH, chlorine, and hardness. They’re useful for identifying common water-quality issues, but generally lack the precision to detect harmful contaminants at very low concentrations.
For health-related concerns, such as lead, arsenic, bacteria, or PFAS, choose a mail-in kit analyzed by a certified laboratory. As Dr. Jess Goddard, chief science officer at SimpleLab Inc. explains, “If you’re making a health decision or about to spend money on treatment, you definitely want lab results behind it.”

Photo: Amazon
Safe Home Ultimate Drinking Water Test Kit
Safe Home’s mail-in water test kit checks 200 qparameters, including 7 inorganics, 31 metals, and 20 pesticides and herbicides. Read the review.
Photo: Amazon
Step 2: Prepare the area.
Before collecting your water sample, wash your hands thoroughly with soap and water and clear the area around the faucet. Wipe away any visible dirt or debris, and remove the faucet aerator if your testing instructions require it. Some tests, particularly those for bacteria, may also require disinfecting the faucet opening before sampling.
Be careful not to introduce contaminants during preparation. Avoid touching the inside of collection bottles or their caps, and wear disposable gloves if recommended by your test kit. Always follow the manufacturer’s instructions, as preparation requirements can vary depending on the contaminants being tested.
Step 3: Flush the pipes.
For many water tests, you’ll need to run cold water through the faucet for a couple of minutes before collecting your sample. This flushes out stagnant water that’s been sitting in your plumbing, helping you collect a sample representative of your incoming water supply. However, always check your kit’s instructions first, as some tests require a different approach.
“For example, some lead-testing protocols require collecting the first water from a cold tap after several hours without use,” explains Rich Razgaitis, co-founder and CEO of FloWater. “If you flush the pipes beforehand, you may wash away the very evidence you’re looking for.”
Step 4: Collect a water sample.
Once the faucet is prepared, collect your sample according to your test kit’s instructions. The process differs slightly depending on your testing method:
- At-home test kits: Fill a clean container with the specified amount of water, or hold the test strip directly under the stream if instructed. Avoid touching the testing surface.
- Mail-in laboratory kits: Use the provided collection bottles, filling each to the indicated level. Some bottles contain preservatives, so don’t rinse them beforehand.
Keep your fingers away from bottle openings and inside surfaces to prevent contamination. Seal samples immediately and follow any storage or shipping instructions.
Step 5: Perform the water test.
Now it’s time to test your sample. The process will depend on whether you’re using an at-home kit or sending your water to a laboratory.
- At-home test kits: Dip the provided test strip into the water sample for the specified time, then remove it and wait for the colors to develop. Compare the strip against the kit’s color chart at the recommended time, as reading it too early or too late can give inaccurate results.
- Mail-in laboratory kits: Label and package your samples according to the instructions, then ship or deliver them to the laboratory within the required timeframe. Results are typically available online or by email once testing is complete.
Note: At-home kits aren’t always dip strips. Some use reagents, test vials, or incubation procedures for bacteria. Always follow the instructions for the specific kit you have.
What to Do With Your Water Test Results
Once you’ve tested your water, the next step is figuring out what the results mean. Most at-home testing kits use color-coded charts to indicate the concentration of different substances in your water, while laboratory reports provide more precise measurements, often in parts per million (ppm), parts per billion (ppb), or milligrams per liter (mg/L).
Compare your results with the reference ranges provided by the kit or laboratory, paying particular attention to any contaminants that exceed health-based guidelines. Keep in mind that detecting a substance doesn’t automatically mean your water is unsafe.
“When interpreting results, a common mistake is assuming that a detection automatically means you have a health risk,” explains Goddard. “You need to put the result in context, first, and compare the detected concentration to a health guideline to determine if there’s a problem.”
Here’s what some common water-quality findings mean and how to address them.
If your water is too hard
Water hardness measures the concentration of dissolved minerals, primarily calcium and magnesium. According to the U.S. Geological Survey, water containing 121 to 180 ppm of hardness (measured as calcium carbonate) is considered hard, while anything above 180 ppm is very hard.
Hard water is generally safe to drink, but it can cause mineral buildup in pipes, faucets, and appliances. If your results indicate hard or very hard water and you’re experiencing these problems, consider installing a water softener. These systems reduce calcium and magnesium levels to help prevent scale buildup.

Photo: Amazon
iSpring Whole House Water Softener System
iSpring’s water softener is an electronic magnetic softener that treats mineral buildup but doesn’t remove heavy metals from water. Read the review.
Photo: Amazon
If your water contains elevated lead levels
Lead can enter drinking water through old pipes, solder, and plumbing fixtures, particularly in older homes. There is no known safe level of lead exposure, so any detected lead deserves attention, especially in households with children.
If a lab test detects lead, use a verified safe drinking-water source while investigating the problem. Contact your water utility or local health department for guidance, and consider having your plumbing inspected. A water filter independently certified for lead reduction can help reduce exposure, but replacing lead-containing plumbing may be necessary to address the source.
If your water tests positive for bacteria
Finding E. coli in drinking water is a serious concern because it indicates fecal contamination. If your test detects E. coli, stop drinking the untreated water and contact your local health department or water utility.
For private wells, a professional may recommend inspecting and disinfecting the well, followed by additional testing to confirm the water is safe. UV treatment or other disinfection systems may also be appropriate for certain ongoing bacterial problems.
Boiling water can kill many disease-causing microorganisms, but it won’t remove chemical contaminants such as lead or nitrates. Follow the specific guidance provided by your health department rather than assuming boiling will solve every water-quality problem.
If your water has high nitrate levels
Nitrates can enter groundwater through fertilizers, septic systems, and agricultural runoff. Elevated levels are particularly dangerous for infants because they can interfere with the blood’s ability to carry oxygen.
The EPA’s drinking-water limit for nitrate is 10 mg/L measured as nitrogen (NO3-N). If your results exceed this level, switch to a verified safe water source for drinking, cooking, and preparing baby formula, and consult your local health department.
A reverse osmosis system certified for nitrate reduction may be an appropriate long-term solution. Do not boil nitrate-contaminated water, as evaporation can increase the nitrate concentration.
If your water contains elevated arsenic or PFAS
Arsenic and per- and polyfluoroalkyl substances (PFAS) can be present in drinking water without any noticeable change in taste, smell, or appearance. Both can pose health risks, depending on the substance and concentration.
If lab testing identifies levels above applicable health-based guidelines, use a verified safe drinking-water source while seeking advice from your health department or a qualified water-treatment professional.
Depending on the contaminant, an appropriately certified reverse osmosis or activated carbon filtration system may help. Check that the specific system has been tested and certified to reduce the substance identified in your results.

Photo: Amazon
Waterdrop G3P600 Reverse Osmosis System
The Waterdrop G3P600 installs under the sink and has a digital display that monitors the presence of TDS in the water. Read the review.
Photo: Amazon
If your water has an unpleasant taste or smell
Not every unusual result indicates a health risk. Elevated iron can cause reddish-brown staining, while chlorine may give treated municipal water an unpleasant taste or odor. High mineral concentrations can also affect how water tastes.
If testing confirms that the issue is aesthetic rather than a health concern, you may be able to address it with a relatively simple treatment system. Activated carbon filters can improve chlorine taste and odor, while specialized iron filters can help reduce staining caused by elevated iron levels.
“A filter that improves taste isn’t necessarily removing lead,” says Razgaitis. “A water softener addresses hardness, not every health concern. UV treatment targets microorganisms but doesn’t remove dissolved chemicals.”
Whatever your results show, choose a treatment system that is independently certified to address the specific contaminants in your water, rather than assuming any filter will do the job.
Final Thoughts
Testing your home’s water quality is a simple but important step toward making sure the water you use every day is safe. Whether you use an at-home testing kit or send a sample to a certified laboratory, following the proper collection instructions will help you get reliable results.
Remember: Not every unusual reading indicates a health risk, but potentially harmful contaminants should always be taken seriously. Once you understand what’s in your water, you can make informed decisions about whether filtration, water softening, or other treatment is necessary.
FAQ
Yes, you can test your home’s water quality using an at-home testing kit. Most kits use test strips or chemical reagents to check for common water-quality indicators such as pH, chlorine, and hardness. However, DIY kits have limitations, particularly when detecting potentially harmful contaminants at very low concentrations.
For more comprehensive testing, the EPA recommends using a state-certified drinking water laboratory.
Common signs of poor water quality include unusual tastes or odors, cloudy or discolored water, and staining around sinks and faucets. White, chalky residue on fixtures can also indicate hard water. However, these symptoms don’t necessarily mean your water is unsafe. According to the CDC, harmful germs and chemicals may be present without affecting how water looks, tastes, or smells.
At-home water tests are a convenient, inexpensive way to screen for basic water-quality issues, such as hardness, pH, and chlorine levels. However, laboratory testing is generally the better option if you’re concerned about contaminants such as lead, arsenic, PFAS, or bacteria. These tests require greater accuracy and sensitivity than most DIY kits can provide. For example, the CDC recommends using a state-certified laboratory to test private well water.
There’s no single list of five indicators that covers every drinking-water concern, but homeowners should pay particular attention to total coliform bacteria, nitrates, pH, total dissolved solids (TDS), and lead.
The post How to Test Your Home’s Water Quality appeared first on Bob Vila.