We may earn revenue from the products available on this page and participate in affiliate programs. Learn More ›
If you spend any time on gardening TikTok, Instagram, or YouTube, you have likely run across the latest viral propagation trend: the seed snail. Promoted by popular gardening outlets as a revolutionary, budget-friendly hack to start seeds indoors, the seed snail method promises to save an immense amount of windowsill space by stacking seedlings vertically in a spiral.
But does this viral method actually work for the everyday home gardener, or is it just another gimmick that looks better on camera than it performs in reality? To find out, I put the seed snail method to the test with a packet of pepper seeds. Here are the steps I took to create a seed snail, materials I used, the frustrations I encountered, and what I might have done wrong.
How Seed Snail Gardening Works
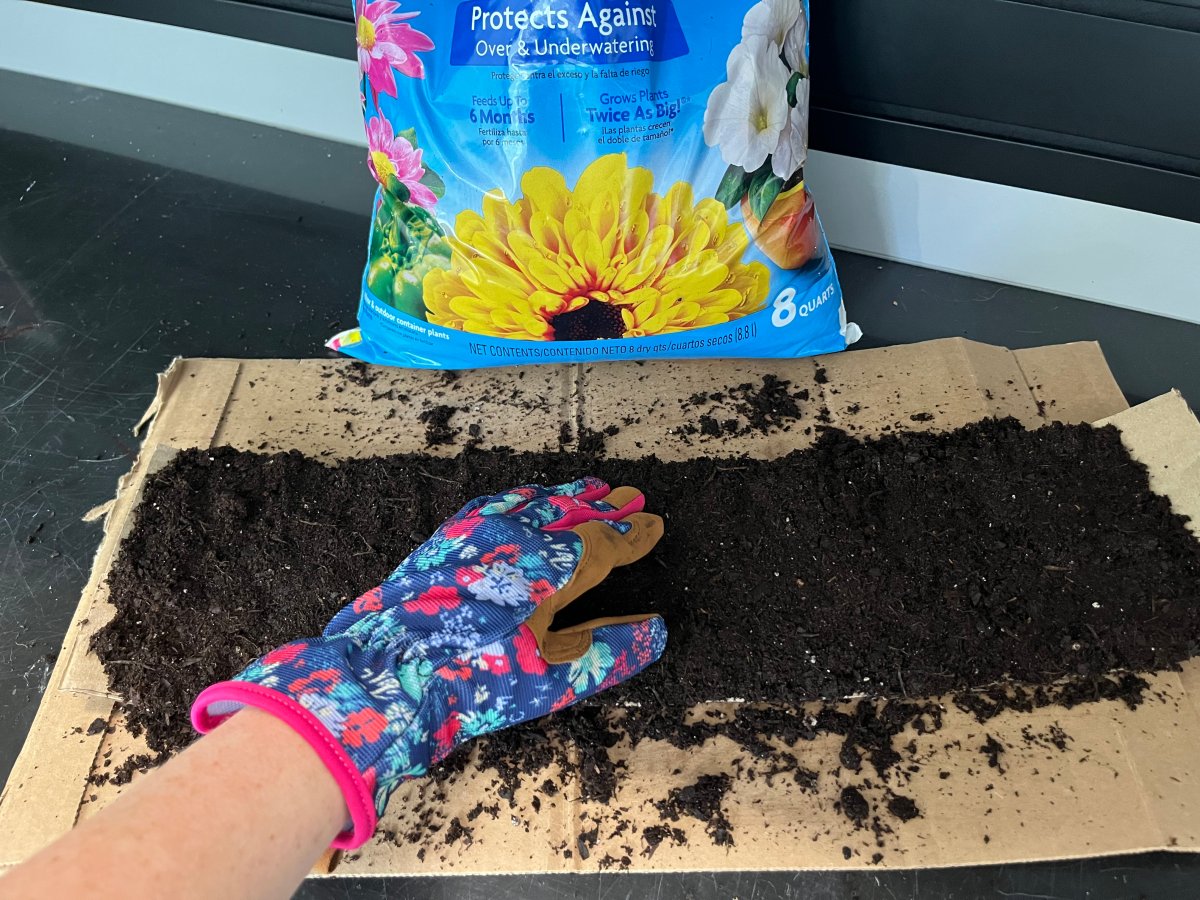
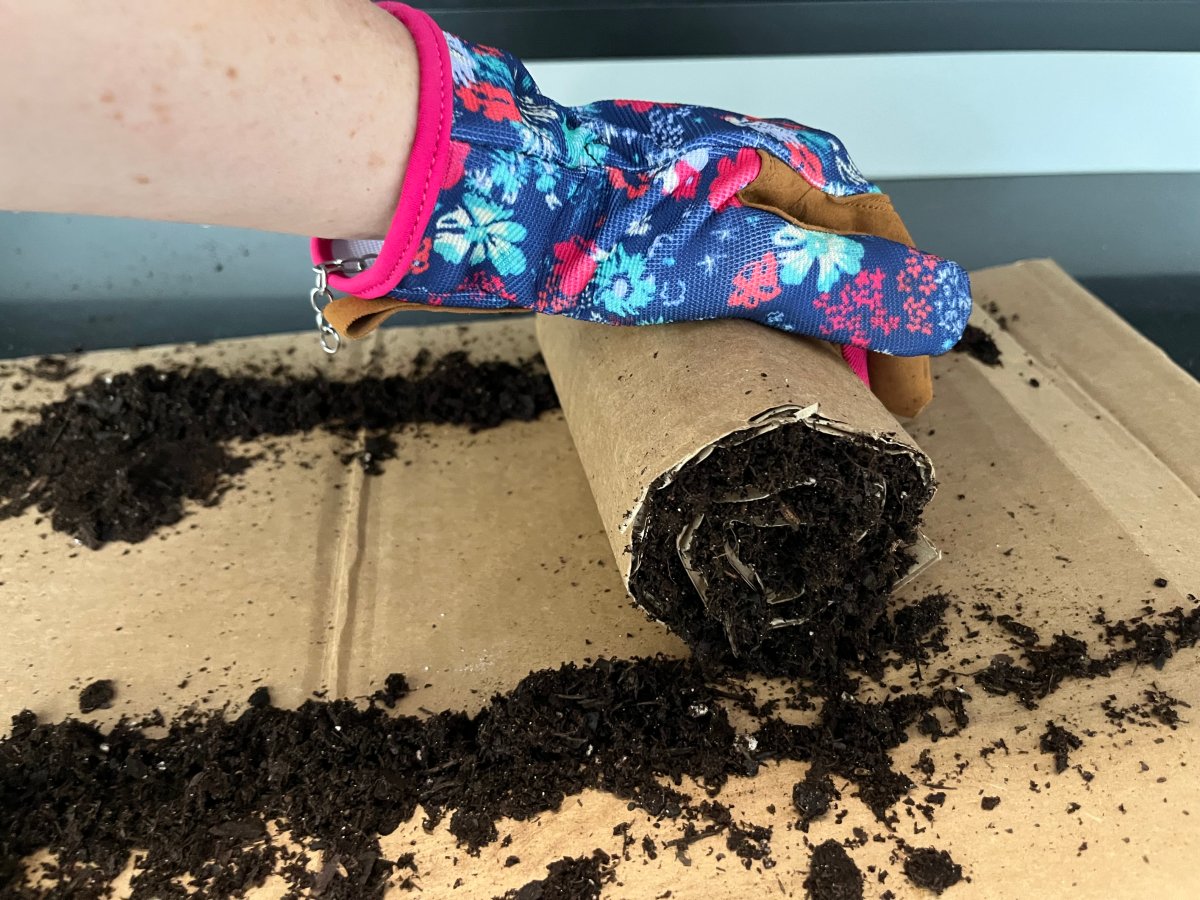
The concept of a seed snail is pretty simple. Instead of using plastic cell trays or individual pots, you lay out a long strip of material such as bubble wrap, packing foam, or cardboard; spread a thin layer of soil across it; and roll it up loosely like a cinnamon roll. I chose cardboard to eliminate any plastic touching the seedlings.
Once secured upright with tape or twine, you place the seeds into the exposed soil spirals at the top of the roll. Gardeners who love this tactic claim you can start hundreds of seedlings in the footprint of a single shoebox, while encouraging deep, vertical root growth.
Materials I used:
- Cardboard (cut to 20 inches long by 5 inches tall)
- Tape measure
- Pen
- Scissors
- Rubber bands
- Potting mix
- Packet of pepper seeds
- Gardening gloves
- Extra cardboard to work on
- Plastic tray to set the seed snail on to protect the windowsill
What Went Wrong for My Seed Snail
While the videos make the rolling process look satisfyingly neat and easy, my firsthand experience with seed snails did not match that image. If you are thinking of trying this trend, there are a few practical hurdles to consider.
It was incredibly messy.
Those who love this method don’t mention in their videos how messy this process actually is. In my experience, a great deal of soil ended up escaping during the assembly process. Spreading loose, damp potting mix across a 2-foot strip of flat material and trying to roll it into a neat coil led to a dirty countertop. Soil spilled out of the sides, turning the entire project into a frustrating ordeal. I spent more time cleaning up than creating the actual seed snail.
Watering was a challenge.
Using cardboard as the structural barrier for the snail introduced a major design flaw when it came time to water the seeds. Because the rolled layers create tight, vertical channels, standard top-watering doesn’t work. Every time I tried to gently pour water onto the top of the snail, the liquid immediately flowed over the sides of the cardboard, washing away surface soil and leaving a muddy puddle in my tray without actually penetrating the core of the roll. I was also concerned that the cardboard would get soggy if I watered too much.
The soil dried out instantly.
The soil inside the snail felt completely dried out whenever I checked it. The tight, upright structure seemed to pull moisture away from the seeds rather than retaining it, preventing the seeds from sprouting.
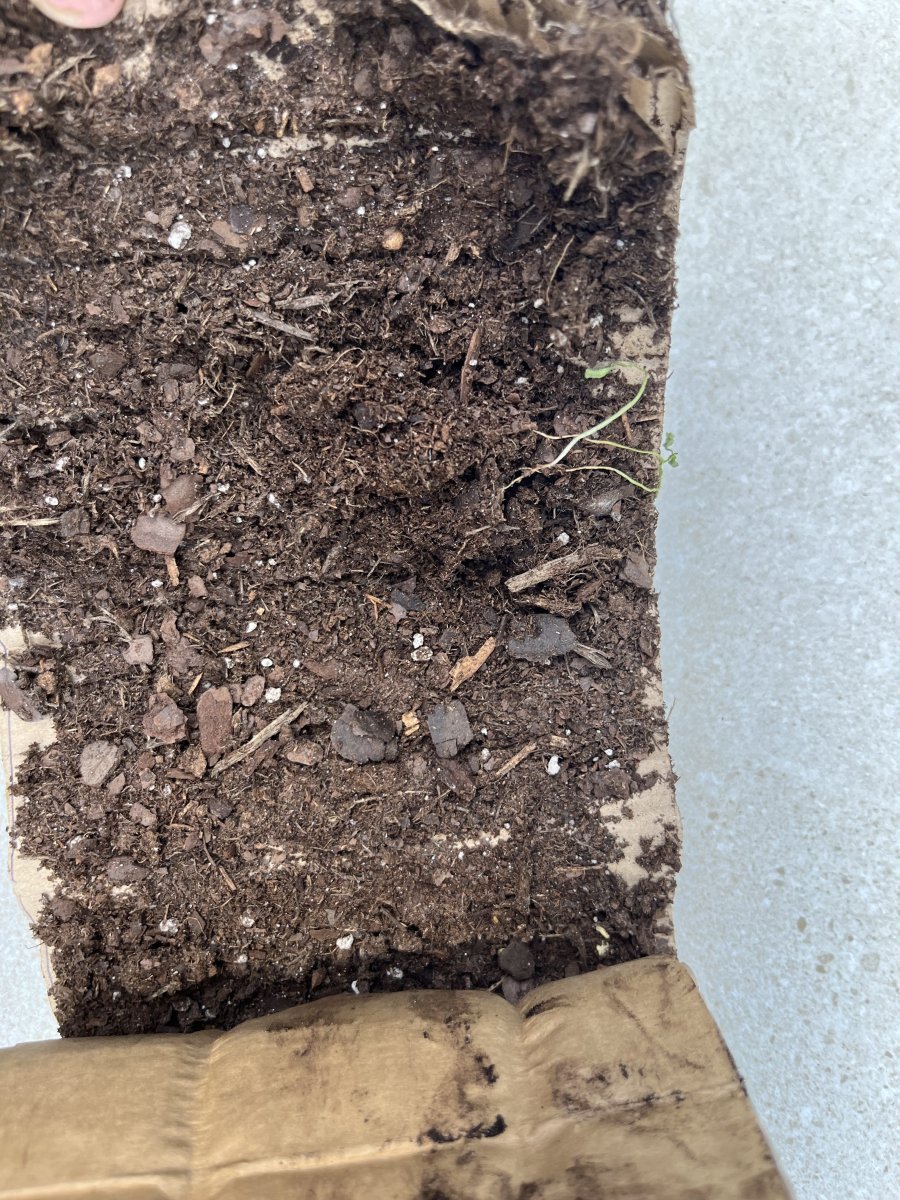
Germination rates were dismal.
The ultimate measure of any seed starting method is its success rate. For my experiment, I planted an entire packet of pepper seeds. In a standard seed tray, I would typically expect to see a 70 to 90 percent germination rate. But in my seed snail, I got only two sprouts after 3 weeks. Cultivating only two seedlings out of an entire packet was a major disappointment, especially for a method advertised as so effective and cutting edge.
Beginner Seed-Starting Mistakes to Avoid
After watching a couple of videos, I thought that making a seed snail seemed like a cinch. I had high hopes of being able to grow an entire basket of peppers, given the results I saw online. However, after reflecting on my shockingly small pepper harvest, it is possible that a combination of factors hindered my seed snail success. If you want to try this method to save space or money for starting seeds, learn from what I might have gotten wrong.
I didn’t water correctly.
Top-watering a seed snail is a losing battle. Experienced snail gardeners actually recommend bottom-watering—important information that I originally missed. By placing the snail in a watertight tray and filling the bottom with an inch of water, the soil is supposed to wick moisture upward like a straw. Furthermore, using absorbent cardboard as the outer layer likely sucked precious moisture away from the soil; non-porous materials like recycled plastic bubble wrap or window insulation foam are much better choices for locking in moisture.
I skipped the greenhouse phase.
Peppers are notorious heat-lovers that require constant humidity to grow. Many successful seed snail guides suggest slipping a clear plastic produce bag or a propagator lid over the top of the roll until the seeds sprout, and a cover is an essential tool for any seed starting method. Skipping this step allowed what little moisture I provided to evaporate into the air.
It didn’t get enough sunlight.
Seed snails house dozens of plants in a micro-space. This means that the second they sprout, they require intense, direct overhead light. My windowsill likely didn’t provide enough bright sunlight, which can stall germination and cause the few sprouts that do emerge to become weak, leggy, and frail, which is what indeed happened.

So, Can the Seed Snail Method Ever Work?
It appears from experts online that a seed snail can work under the right conditions, but it requires a higher learning curve and more meticulous monitoring than traditional seed trays.
If you are a beginner gardener or looking to start a few finicky, heat-loving crops like peppers or tomatoes, stick to standard cell flats or repurposed egg cartons. The seed snail is too prone to drying out and too messy for the casual gardener.
However, if you are an experienced grower looking to start a large amount of hardy crops and you commit to using recycled plastic wrap and a strict bottom-watering routine, then this approach just might turn out to be your favorite space-saving trick.
The post Does Seed Snail Method Gardening Actually Work? appeared first on Bob Vila.