We may earn revenue from the products available on this page and participate in affiliate programs. Learn More ›
Buying bags of compost, mulch, fertilizer, and other garden additives can get pricey, plus the products can take up a surprising amount of space in potting sheds and garages. But if you live near the coast, you can reduce or even eliminate the need for many of these store-bought products by gathering your own seaweed to make seaweed fertilizer, weed-free mulch, compost, and more.
When I moved to coastal Maine, I wanted to make my garden more budget- and earth-friendly and decided to try using seaweed in my garden after reading about the many benefits it provides to plants. In this guide, I’ll share how I personally use seaweed, what worked and what didn’t, and tips on seaweed harvesting.
How Seaweed Can Help a Garden
Seaweed is one of the best organic fertilizers for plants since it’s packed with macronutrients like potassium and nitrogen. But seaweed also contains an assortment of micronutrients such as magnesium, calcium, iron, zinc, manganese, iodine, selenium, and sulfur, which are often lacking in commercial fertilizers but equally essential for healthy plants. Seaweed also contains several plant hormones that can stimulate root growth.
Here are a few more reasons why I personally love using seaweed in my garden:
- It’s free. Using seaweed can reduce the need for commercial fertilizers and mulch and save money.
- It’s available year-round. Autumn leaves make a fantastic natural mulch, but they’re only available in fall. Coastal dwellers can gather seaweed, however, in any season—including winter.
- It’s eco-friendly. Using locally sourced seaweed reduces transportation costs and fuel use and eliminates the need for plastic packaging of a product.
Seaweed Mulch
The main reason why I wanted to use seaweed in my garden was to eliminate the need for commercial mulches and save a bit of green.
I simply gather a few buckets of seaweed at a time and spread the fresh seaweed immediately in my garden in 4- to 6-inch deep layers. After about a week, the seaweed naturally dries and shrinks to about half its original depth. Then, I apply another 4 to 6 inches of seaweed on top and allow that to dry too.
I’ve used this mulching technique in both vegetable and flower beds and find it works well for suppressing weeds and insulating the soil. I’ve noticed that seaweed breaks down more quickly than many other mulches and needs frequent replacing, but I don’t mind the extra work because it saves money, naturally feeds my soil, and improves the overall structure and water-holding capacity of my sandy soil. I’ve also noticed fewer slugs and snails in the beds where I apply seaweed since it naturally contains salt and has a slightly spiky texture that slugs just don’t like.
The first time I used seaweed as mulch, I noticed some small sand flies and beach hoppers had hitched a ride on the seaweed and were hopping around my garden. I initially worried that I’d introduced new critters into my beds, but the “hitchhikers” disappeared once the seaweed dried out. You can avoid small bugs of this sort by rinsing seaweed before use, but they don’t bother me or my plants, so I leave them be.
Seaweed Fertilizer
You can apply seaweed as a top dressing to beds if you practice the no-dig gardening method and want to boost the nutrient content of your soil. However, I like to use seaweed to create a simple organic liquid plant food, which I find to be one of the best fertilizers for my houseplants.
To create seaweed fertilizer, I simply fill a 5-gallon bucket two-thirds of the way up with rinsed seaweed, fill the rest of the bucket with water, and secure the lid. Then, I let the seaweed steep for about 2 to 4 weeks in my garden and finish by straining out the seaweed pieces. This fertilizer can be used as it is for a soil drench or foliar spray on mature plants. You also can dilute it to 1/10 strength with water and apply it to seedlings to help them root faster.
It’s important to note that seaweed is not a complete fertilizer and works best when combined with other products. I personally like to use it alongside bone meal, since bone meal contains lots of phosphorus and seaweed has lots of potassium, for a balanced natural fertilizer.
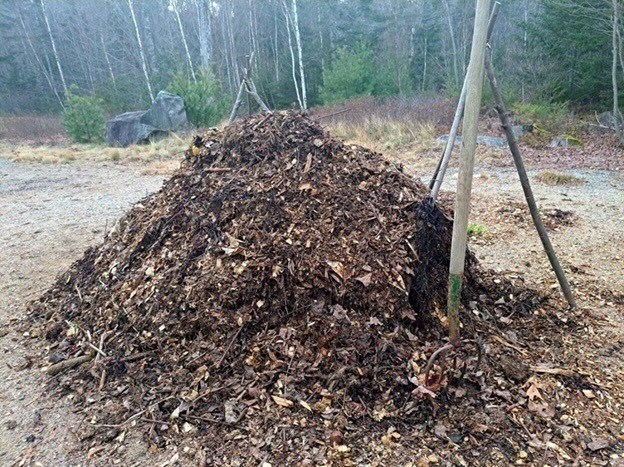
Seaweed Compost
Not everyone loves the look of seaweed in the garden, but that doesn’t mean you can’t make seaweed work for you. You also can add seaweed directly to your composter as a nitrogen-rich ingredient. Just use about 1 part seaweed for every 3 parts carbon-rich materials, like autumn leaves, dried plants, or sawdust.
I’ve been composting seaweed for years and find it breaks down fastest if I allow the seaweed to dry up and then crumble it into bits before composting. Once the composting process is completed, you can use seaweed compost on any plant, but I’ve noticed the biggest difference when I apply it to my roses, potatoes, tomatoes, and sulfur-loving veggies like brassicas and garlic.
Seaweed Spray
Sometimes if I have leftover liquid seaweed fertilizer, I’ll spray it over the leaves of plants that are prone to mildew or other fungal issues, like peonies, squash, and roses. I’ve read that this can reduce mildew problems and I have definitely noticed less powdery mildew in my garden since I’ve started applying it.
If you want to try this trick, use the recipe above to brew liquid seaweed fertilizer and then pour the strained fertilizer into a garden sprayer. Saturate the tops and undersides of plant leaves that are prone to mildew and reapply the treatment every 2 to 4 weeks through summer. Just avoid spraying plants when the sun is high overhead as it can increase the risk of sun-scorched leaves.
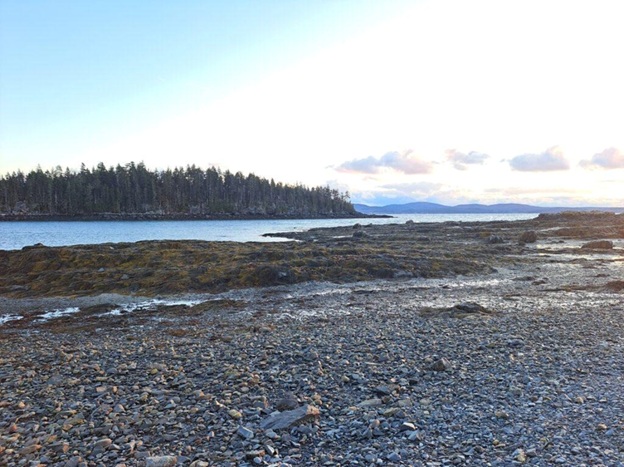
Tips on Harvesting Seaweed
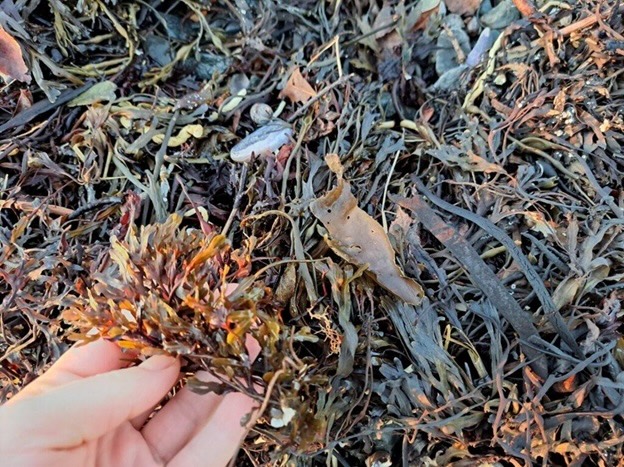
One of the best things about using seaweed in the garden is that seaweed is ultra-easy to harvest. I just head to the coast with a sturdy plastic sack or bucket, gather the seaweed I need and repeat. That said, there are a few harvesting tips that will make seaweed harvesting safer, easier, and more rewarding. Make sure to follow local guidelines when harvesting seaweed. Gathering seaweed is permitted in most areas, but not everywhere, especially in private and protected areas.
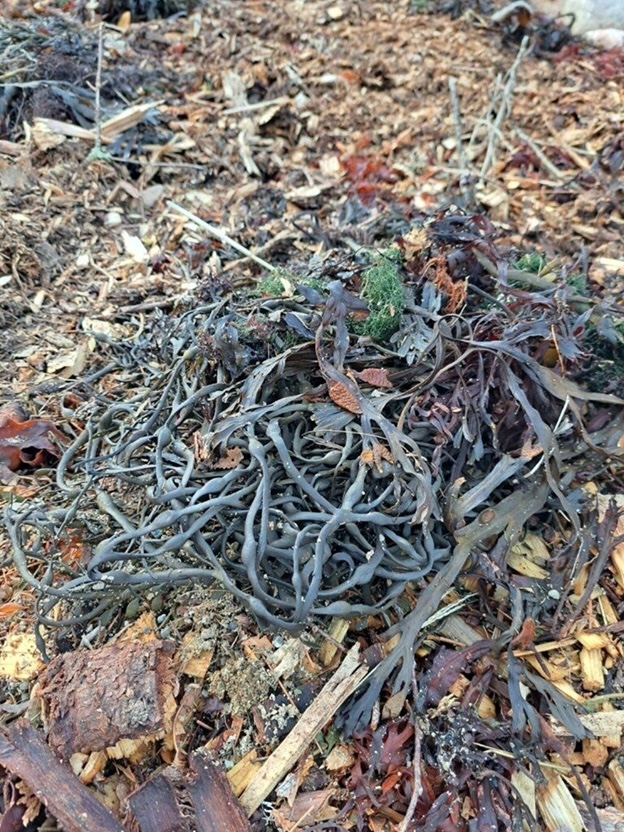
- Any type of seaweed works. Here in Maine, rockweed is particularly common. However, you can use any sort of seaweed in the garden.
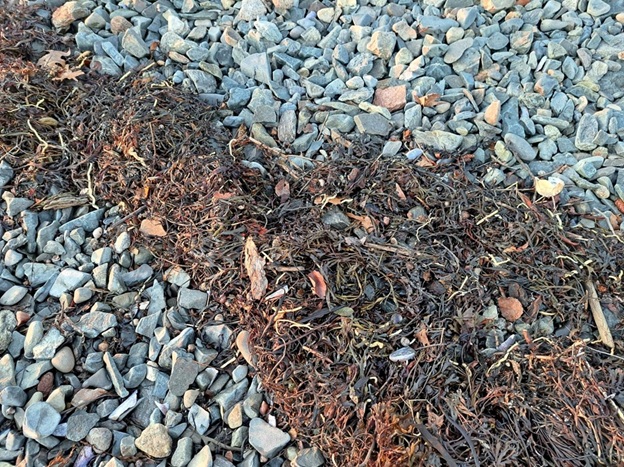
- Harvest from the mid-beach. I find it’s easiest to harvest seaweed from the mid-beach region. It’s drier, easier to work with, and usually contains fewer bugs.
- Avoid contaminated areas. Make sure to harvest seaweed only from clean areas. Seaweed from highly populated or industrialized spots might contain contaminants you don’t want in your garden.
- Don’t harvest live seaweed. Seaweed that’s attached to rocks is still living and I never harvest it. Loose seaweed is fair game though.
- Don’t overharvest. A good foraging rule of thumb is to never harvest more than 1/10 of the seaweed you find. Many animals rely on dried seaweed for shelter and more.
- Rinse it if you like. Although seaweed contains some salt, it’s not salty enough to cause issues in areas with regular rainfall and doesn’t require rinsing before use. Still, if you’re concerned about salt content, you can spread seaweed out on your driveway or on a tarp and give it a quick rinse with your hose before applying it.
The post I Harvested Seaweed for Free Garden Fertilizer appeared first on Bob Vila.